No Bake Mini Egg Cheesecake Cups Recipe – Easy Easter Dessert
These No Bake Mini Egg Cheesecake Cups are creamy, crunchy, colorful, and perfect for spring gatherings. They take very little time to prepare and there is no oven required, which makes them ideal for busy parents, Easter brunch tables, or fun kitchen time with kids.
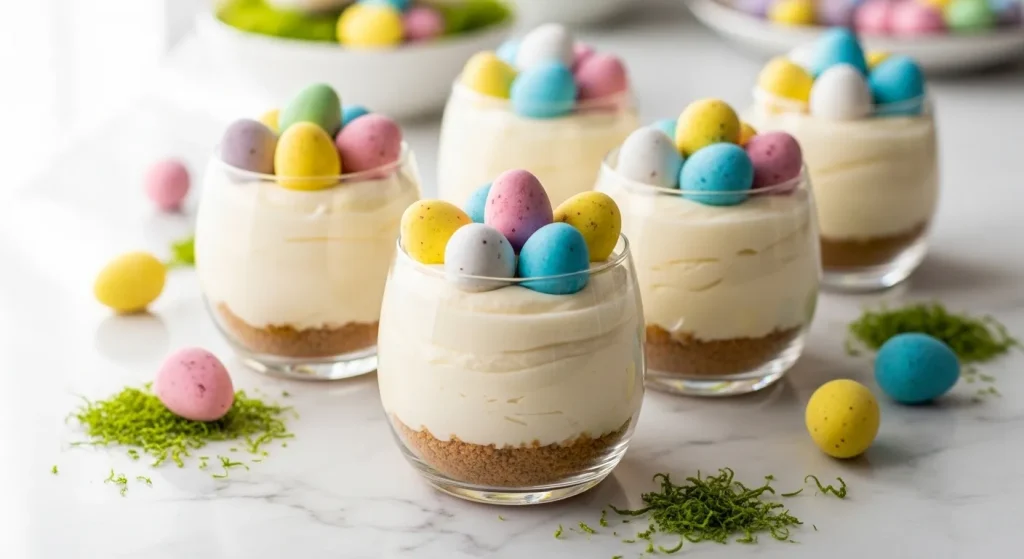
The best part is how cute they look when served in small cups. The graham cracker crust adds a buttery crunch, the cheesecake filling is light and smooth, and the chocolate mini eggs give that festive Easter touch.
See Also: No bake easter Choclate lasanga
Why You’ll Love These Cheesecake Cups
These mini desserts are popular for a reason.
• No baking required
• Ready with simple ingredients
• Perfect for Easter parties or family gatherings
• Kid friendly and fun to decorate
• Easy to prepare ahead of time
They are also great for portion control. Instead of slicing a large cheesecake, everyone gets their own cute dessert cup.
What You Need
Here are the simple ingredients for these cheesecake cups.
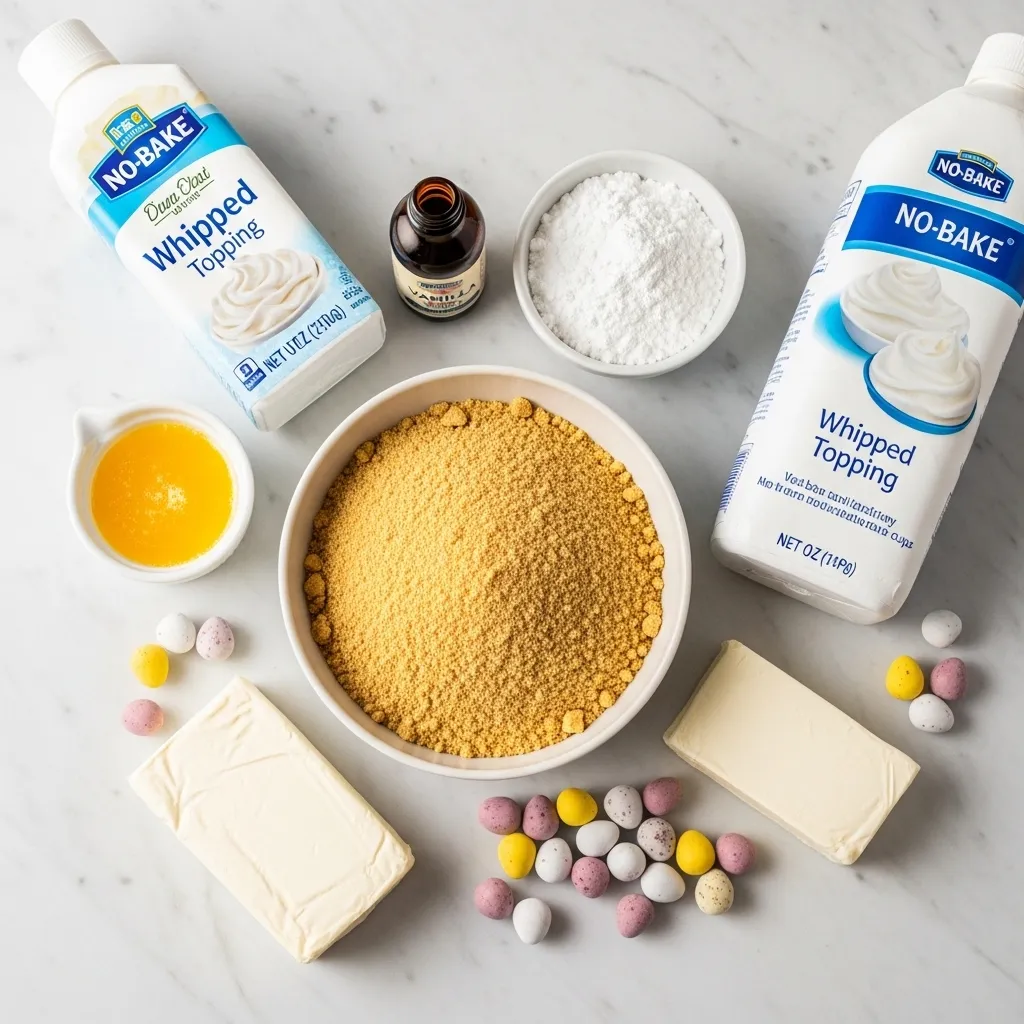
• 1½ cups crushed graham crackers
• 4 tablespoons melted butter
• 8 oz cream cheese, softened
• ½ cup powdered sugar
• 1 teaspoon vanilla extract
• 1 cup whipped topping
• Chocolate mini eggs for topping
Optional toppings if you want to get creative:
• Chocolate shavings
• Crushed mini eggs
• Easter sprinkles
• Caramel drizzle
How to Make No Bake Mini Egg Cheesecake Cups
This recipe takes only a few simple steps.
Step 1: Prepare the Crust
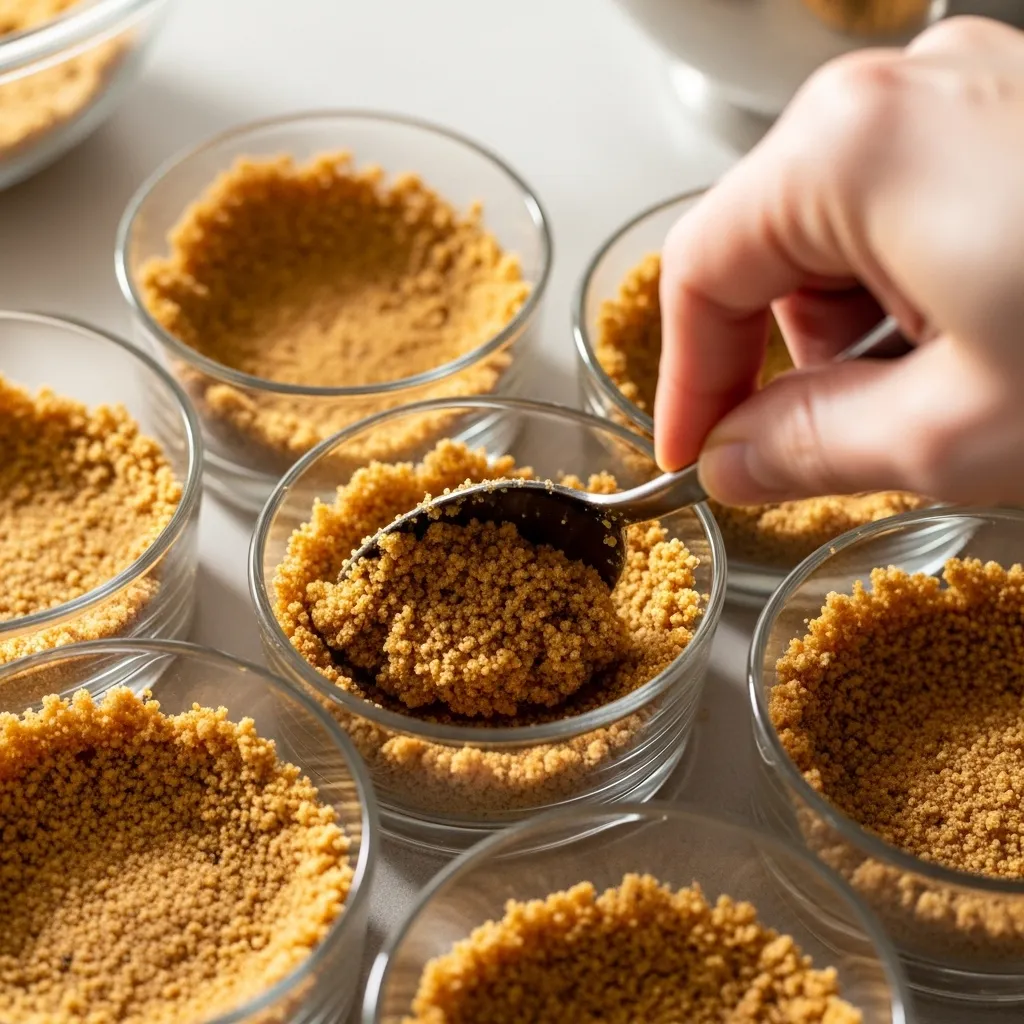
Mix the crushed graham crackers with melted butter in a bowl. Stir until the crumbs are evenly coated and resemble wet sand.
Spoon the mixture into small serving cups and press it down firmly to create the crust layer.
Place the cups in the refrigerator and chill for about 15 minutes so the crust can firm up.
Step 2: Make the Cheesecake Filling
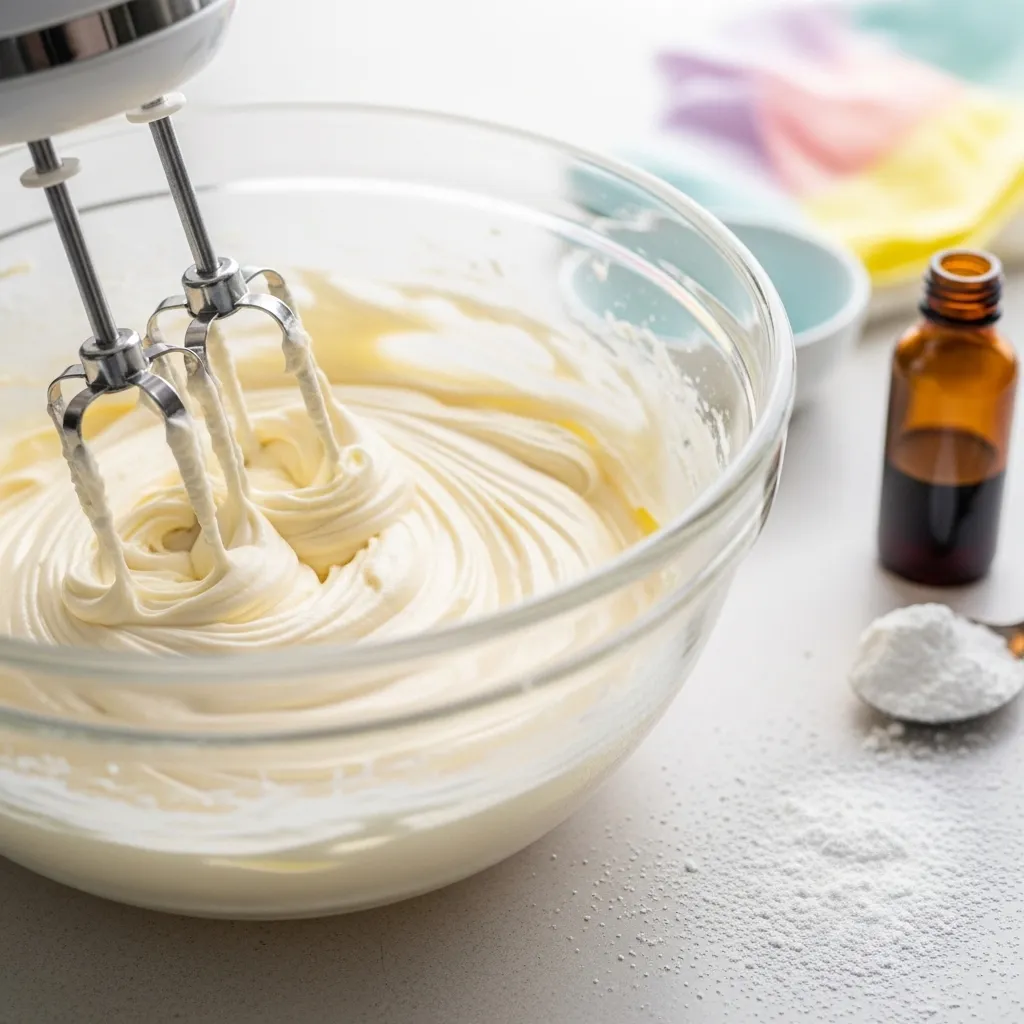
In a mixing bowl, beat the softened cream cheese, powdered sugar, and vanilla extract until the mixture becomes smooth and creamy.
Gently fold in the whipped topping. This keeps the filling light and fluffy.
Step 3: Assemble the Cheesecake Cups
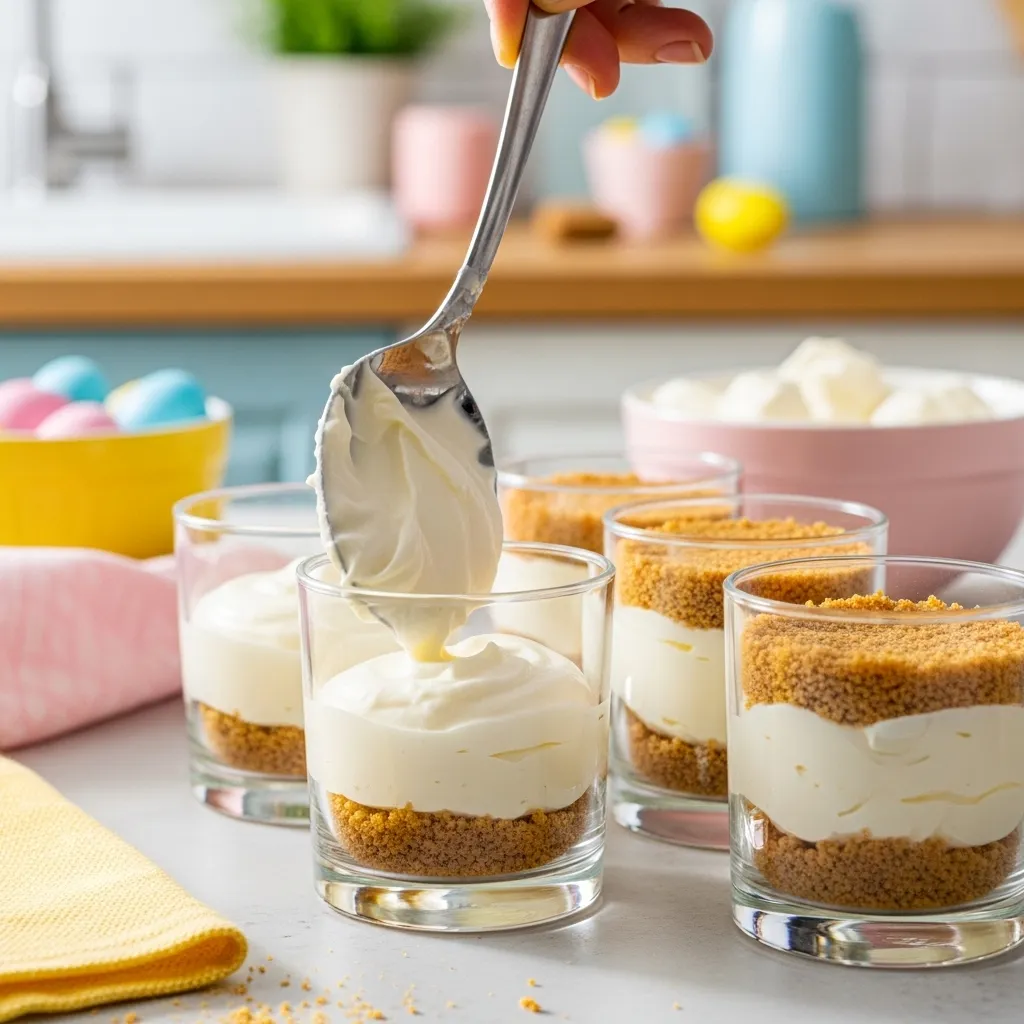
Remove the chilled crust cups from the refrigerator.
Spoon or pipe the cheesecake filling on top of the graham cracker crust. Fill each cup almost to the top.
Smooth the surface with a spoon if needed.
Step 4: Chill The Cheesecake
Place the assembled cups back in the refrigerator for about 1 hour. This allows the cheesecake filling to set properly.
Step 5: Add the Easter Topping
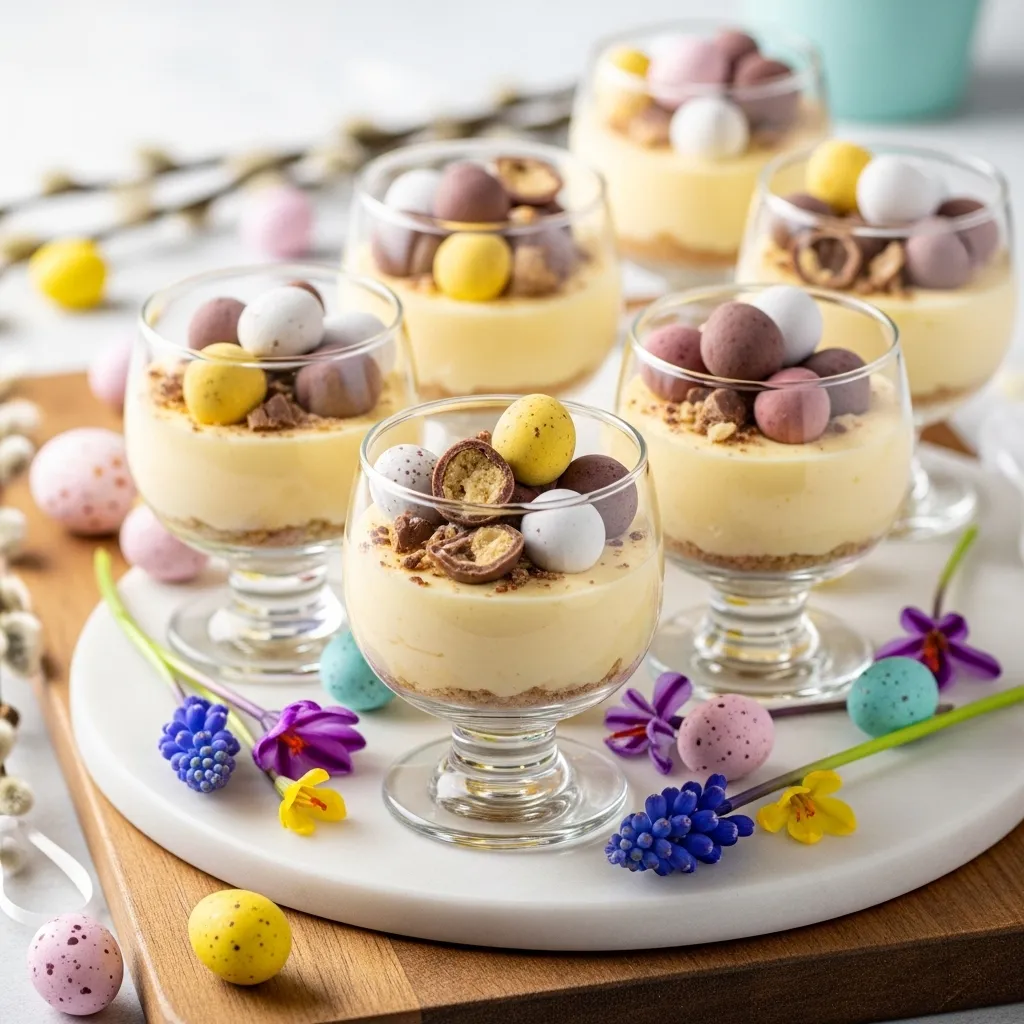
Right before serving, top each cheesecake cup with colorful chocolate mini eggs.
You can also sprinkle crushed mini eggs or Easter sprinkles for a festive look.
Pro Tip
For extra richness, add a thin layer of chocolate ganache between the crust and cheesecake filling. It adds a delicious chocolate surprise in every bite.
Fun Variations
Want to make this recipe even more exciting? Try these simple ideas.
Chocolate Lovers Version
Add cocoa powder to the cheesecake filling for a chocolate cheesecake layer.
Oreo Crust Version
Replace graham crackers with crushed chocolate sandwich cookies.
Strawberry Twist
Add a spoon of strawberry jam between the crust and filling.
Mini Egg Crunch
Crush a few mini eggs and mix them directly into the cheesecake filling.
Make Ahead Tips
These cheesecake cups are perfect for preparing in advance. Store them in the refrigerator for up to 2 days before serving. Just wait to add the mini eggs on top until the last moment so they stay crunchy and colorful.
Storage Advice
Keep the cheesecake cups covered in the refrigerator.
They stay fresh for about 2 days. After that, the crust may start to soften.
Freezing is not recommended because the texture of the filling may change.
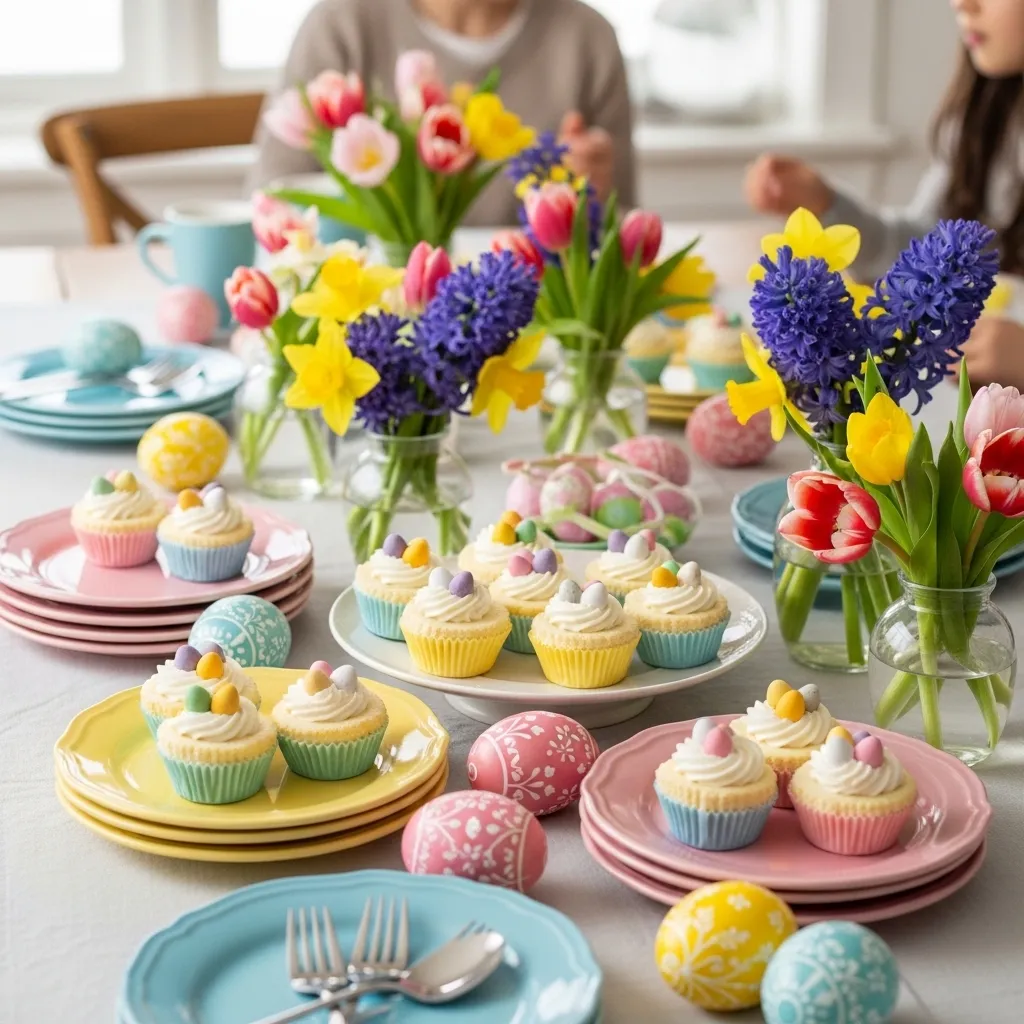
Perfect for Easter Celebrations
These No Bake Mini Egg Cheesecake Cups are ideal for:
• Easter brunch tables
• Kids parties
• School celebrations
• Spring picnics
• Family dessert trays
They look beautiful, taste amazing, and take very little effort to prepare.
Once you make them, they might become one of your favorite Easter desserts every year.